A beginner’s guide to using your laptop for video conferencing
With the rise of remote work and virtual meetings, video conferencing has become an essential tool for staying connected. If you're new to using your laptop for video calls, it can be overwhelming to navigate all the different platforms and settings. In this beginner's guide, we'll walk you through the basics of setting up and optimizing your laptop for video conferencing.
1. Choose the right platform
There are many video conferencing platforms available, such as Zoom, Google Meet, Microsoft Teams, and Skype. Choose the platform that best suits your needs and make sure to download and install the necessary software before your meeting.
2. Test your camera and microphone
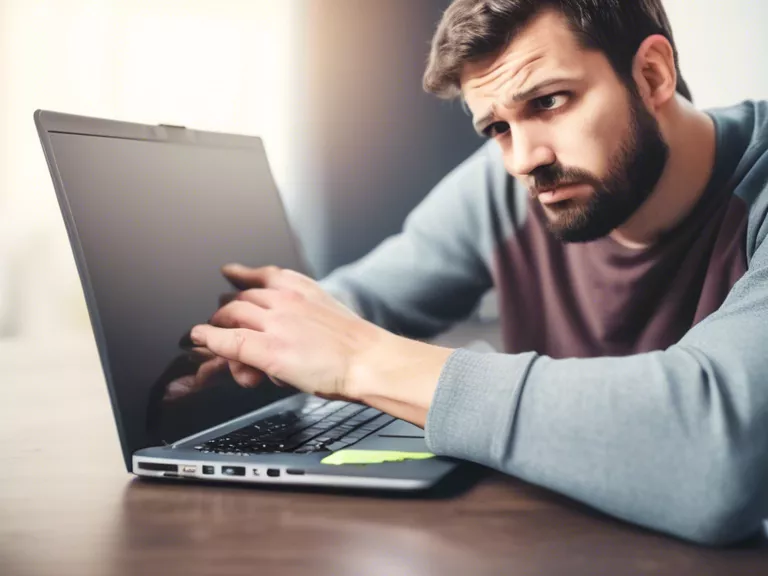
Before your meeting, test your laptop's camera and microphone to ensure they are working properly. You can do this by opening the camera and sound settings on your laptop and running a test call on the video conferencing platform you will be using.
3. Find a quiet, well-lit space
Choose a quiet and well-lit space for your video call to ensure clear audio and video quality. Avoid sitting with a window behind you, as this can create glare and make you difficult to see.
4. Adjust your camera angle
Position your laptop at eye level and adjust the camera angle so that your face is centered on the screen. This will create a more flattering and professional look during the video call.
5. Use headphones
To avoid echo and background noise during your video call, use headphones with a built-in microphone. This will ensure clear audio quality for both you and the other participants.
By following these simple tips, you can feel more confident and prepared for your next video conference on your laptop. With practice and experience, you'll become a pro at virtual meetings in no time!